
https://en.wikipedia.org/wiki/Drawing_Hands
Why?
There’s been a lot of negativity towards “AI Art”, especially from the “traditional” art community.
Most people think of “AI Art” as a one-click one-and-done workflow. You type a prompt, hit “generate” a few times, and voila! This may be true in certain cases, but you’ll end up with some wonky results:
Sure you can fiddle with the prompts, click “generate” a hundred times until you get the perfect result.
I want to show that AI art can be worthwhile, and a useful tool, for bringing concept to image.
How?
You can get extremely granular control of image generation by using a few techniques, such as img2img in-painting, or manually seeding the image in your favorite image editing application. In this example, I wanted the output to be purely generated by AI. However, I’ve had great success by manually manipulating or painting low-res features, then in-painting them to completion.
Much like a painter’s workflow, i.e. sketch, add the base colors, shading, add detail, this will be a very iterative process.
1: The starting point
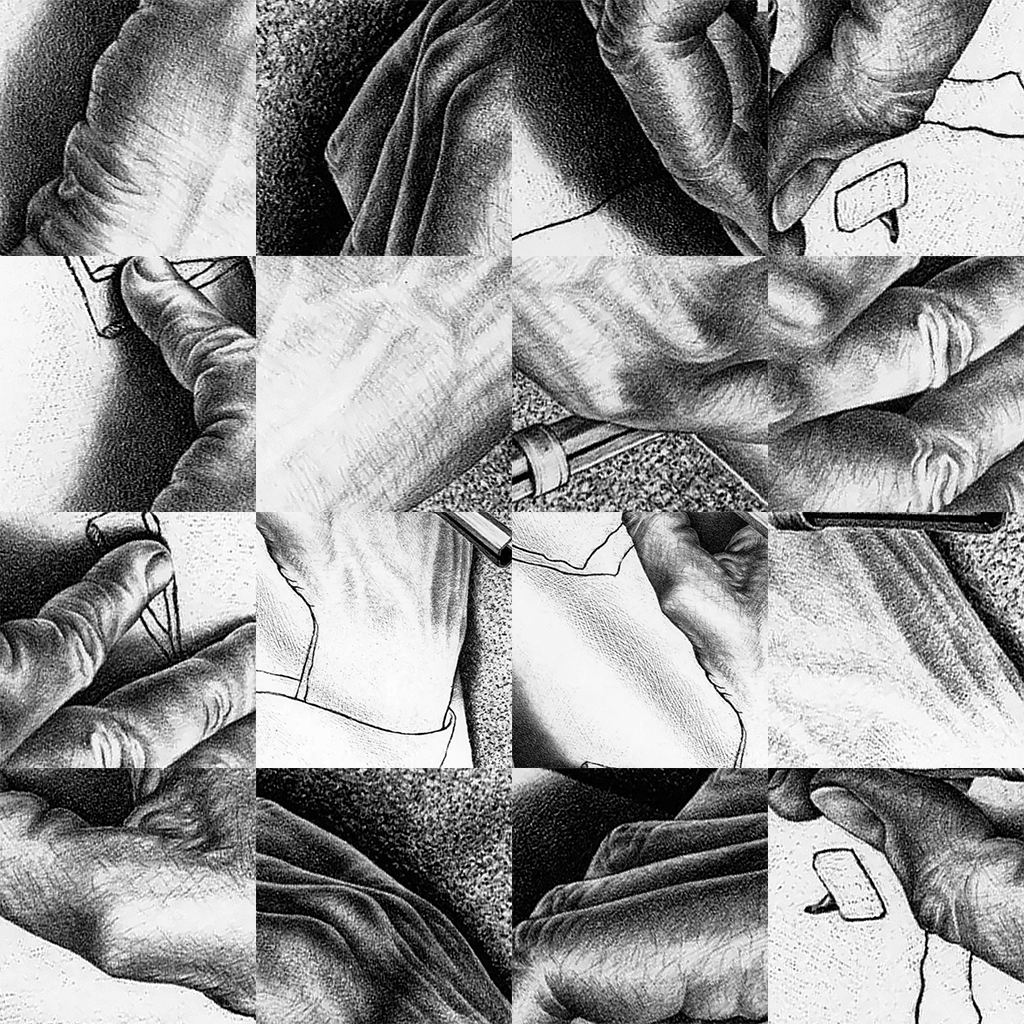
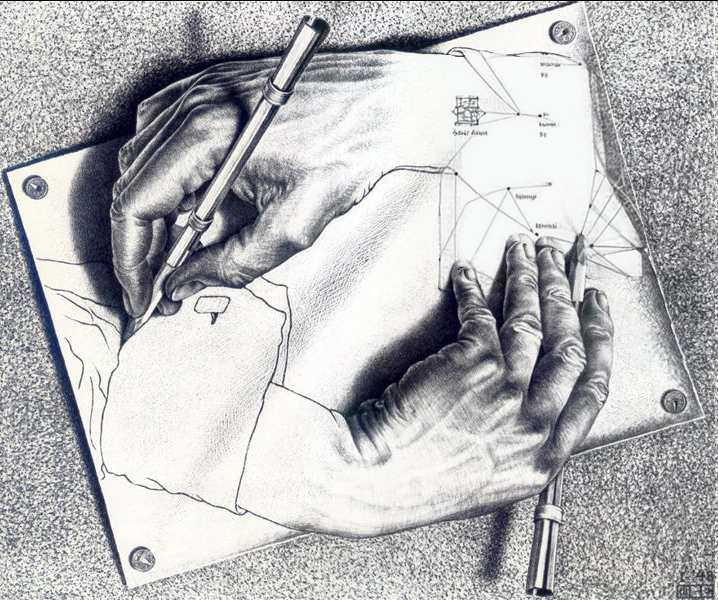
I knew exactly what I wanted the final image to look like. Since this was a remix/parody/commentary, I started with M.C. Escher’s famous work.
Maybe I will do a write-up on starting from scratch in the future.
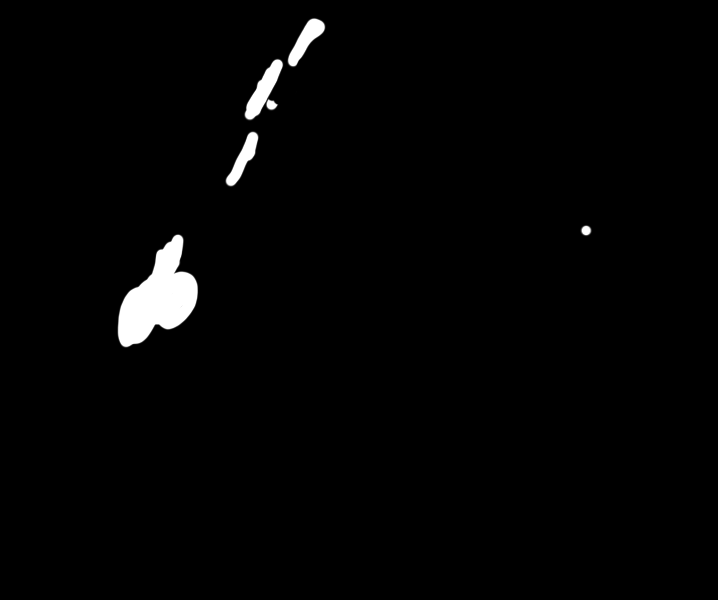
2: Masking
The most important part of the process is making a good mask. This is easily accomplished in Photoshop.
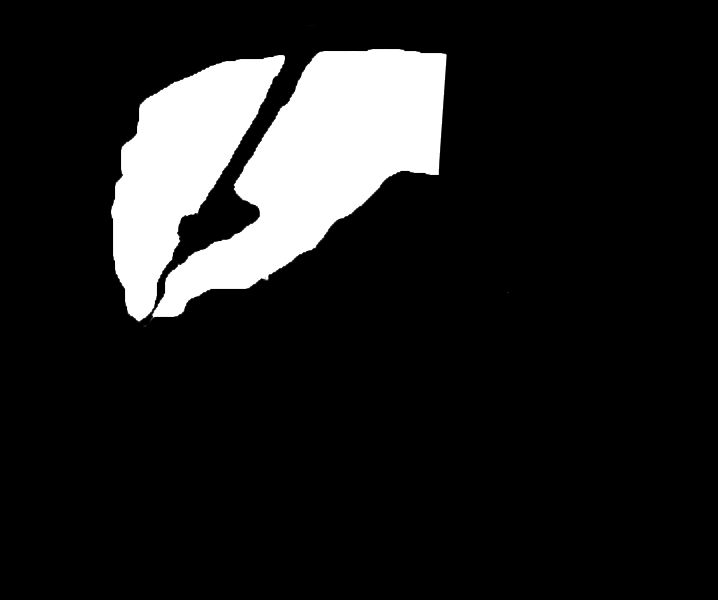
Once you have a good mask, you’re almost there.

Hitting “generate” a hundred times can work, but you might not get the “feel” you want. Also, in my case, the generated hand was kind of wonky and definitely did not fit the style of the work.
3: Training with Dreambooth
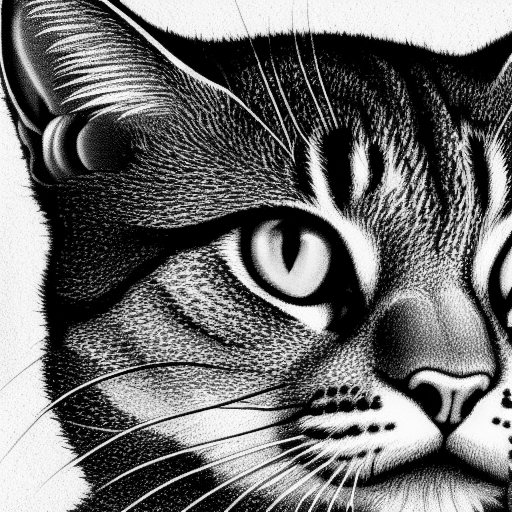
To get the pencil style of the work, we can zoom in and crop out pieces of the drawing. Zoom in too far, you’ll only have noise. Don’t zoom in enough, the concept learned will be the hands and pencils in the drawing. Took 3 times to get this right.
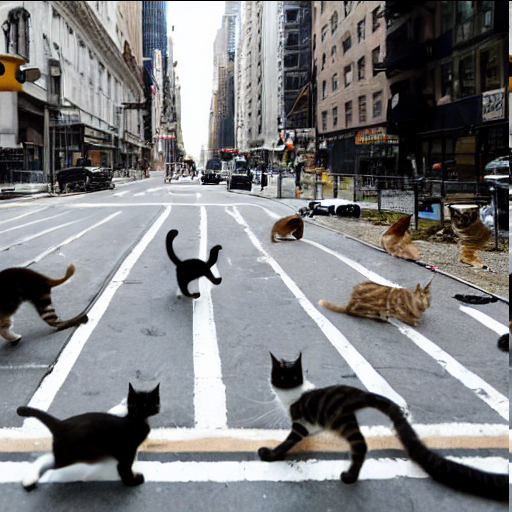
I used Dreambooth with the standard recommended settings. ~100 steps per image. I used 24 images and got decent results. Here is a cat in this style:
I used a similar process to get the style of robotic hands that I wanted, as well as the abstract drawing of the network/schematic/math. Took about 30 images of robot hands, and about 100 images of network architectures from various papers on AI.
4: Generate an Output
I started with the sleeves using an in-paint mask. I used “original” as the masked content fill method, 30 steps with Euler a, low CFG scale, and a denoise strength of about 0.3. I wanted the AI to retain the rough shape of the sleeve, and keep the relative level of detail to be low, to match the sketched sleeve.
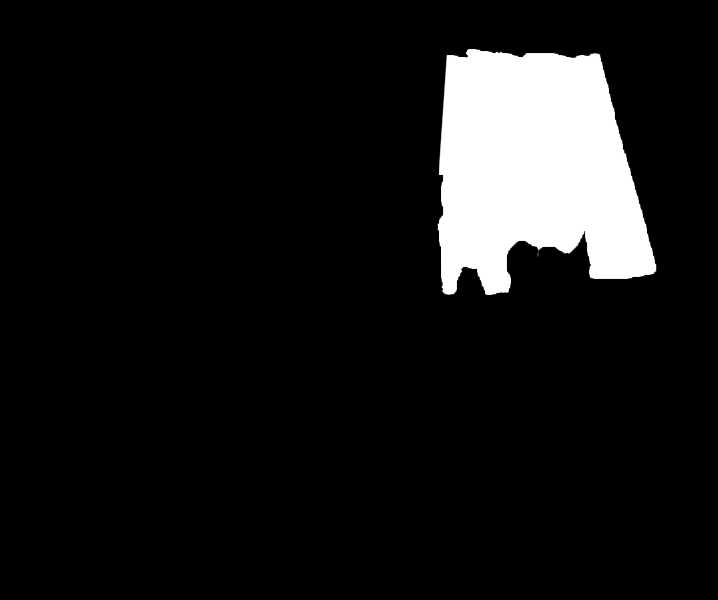
Using the second mask with the hand,
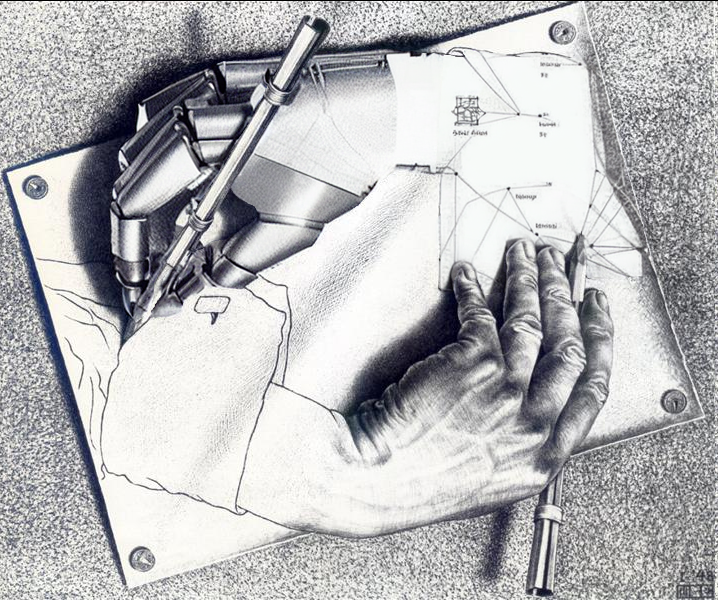
I was pretty happy with this result. However, there are a few imperfections. Like any art process, this is iterative. You won’t get perfect results first try.
Look at the fingers. Look at the pencil. The style could be a bit better as well.
5: Mask, Generate, Repeat

It also took some manual fixes. The clone and smudge tools in photoshop are a good way to reshape things. The AI will recognize the texture is supposed to be part of the object you’re filling in. Masking was used to retain the sharp point of the pencil. I had to manually straighten the pencil as well.
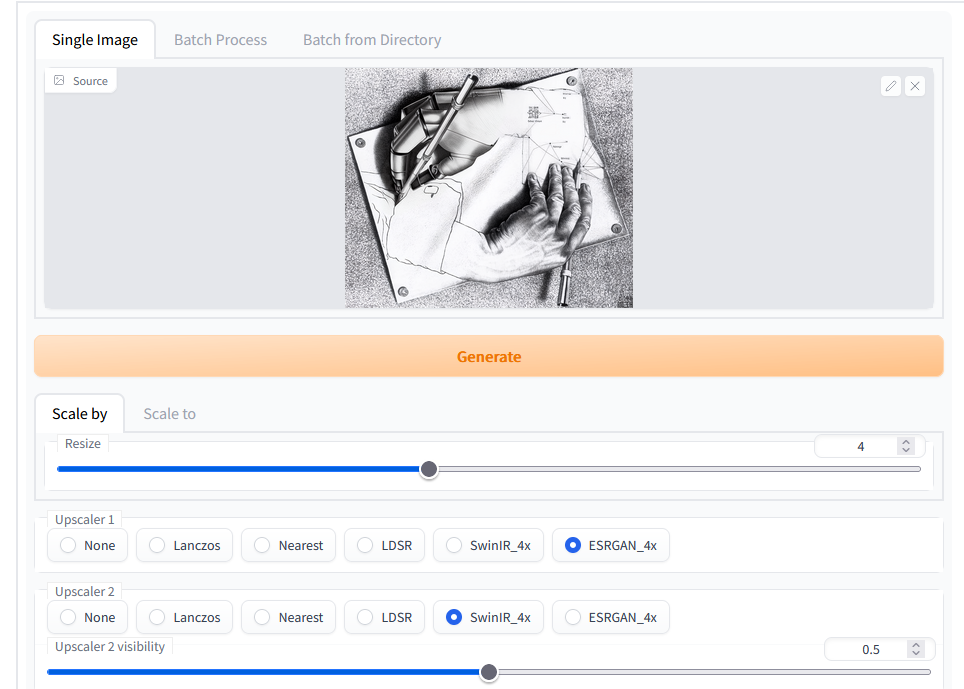
6: Upscale
I had the best luck using a 50/50 of SWINIR and ESRGAN. Using one or the other resulted in some parts of the piece being extremely sharp, others being blurred or distorted.
7: Done
https://en.wikipedia.org/wiki/Drawing_Hands