2020 has been a crazy year. Pandemic, Protests, Murder Hornets, and no end in sight!
I had joined a Milwaukee activism facebook group for donating supplies. One member had a megaphone to donate, but lost the charger!
I offered some of my time to fix it- either find/make a new charger, or find a way to make it run off of a common type of battery available at Walmart or Walgreens.

First I checked online- is this battery common or cheap? How about the charger?
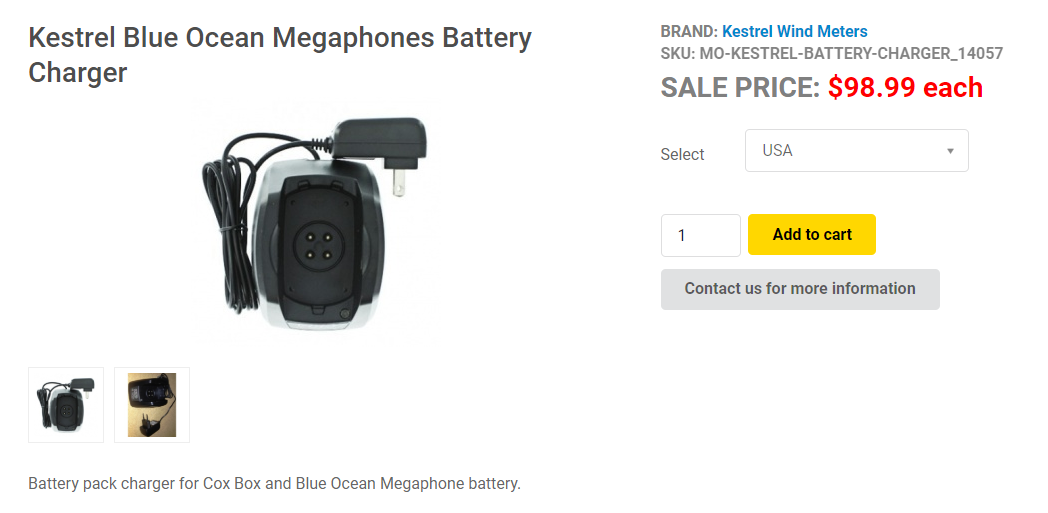
Nope! $100 for a charger! Not worth just buying one. The battery comes for around $100 as well, I could save $200 if I can fix this!

The first challenge was finding out the voltage and pin-out of the battery. That is, which is (+) and which is (-). It is a proprietary battery pack, and I was not able to find any information on it online.
So, I took it apart and took a look at the 4 battery pins on the circuit board.
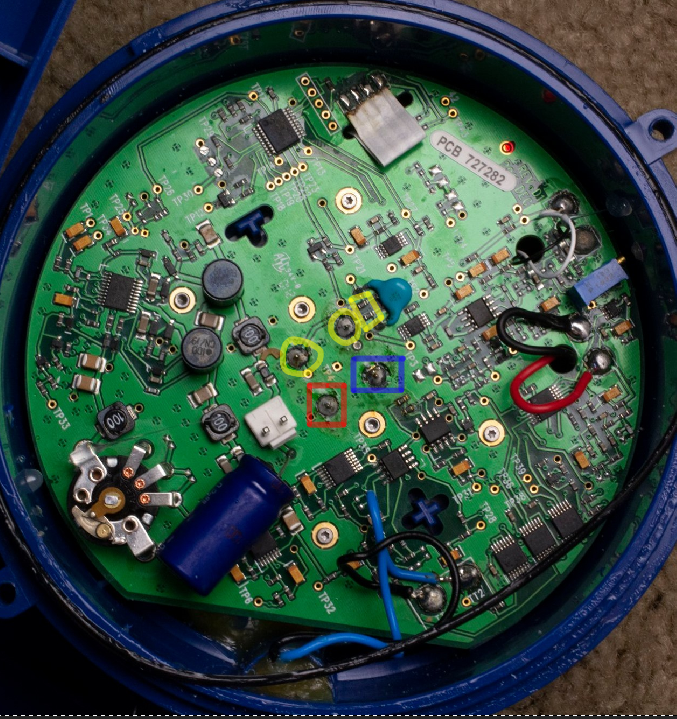
Right away I saw that one pin was connected to the “ground plane“, I marked this in BLUE. Circuit boards start with a flat sheet of copper and etch away around wires and connections. In this case, most of the sheet has been left intact to connect all of the ground connections (-). In some boards there are also “power planes”, where the whole sheet of copper is left behind and connected to power pins.
Another way to find the (-) ground pin, I used my multimeter with the ohm (Ω) mode to measure resistance, and measured between each pin and any screw. The meter read 0.1Ω on this one pin, so this was it!
Next, I noticed that the two battery pins highlighted in YELLOW both connected to capacitors. To me this indicated that they were the communication lines, for the megaphone to check on battery status.
This left RED as the only pin left for (+). Unfortunately there was no way to check where this really connected, and I couldn’t remove the circuit board from the enclosure, as it was glued into place from the other side.
To test my hypothesis on which pins were (+) and (-), I ended up charging the battery slightly. It managed to hold a slight charge, and I was able to measure it with my multimeter on the VOLTAGE setting.
The side of the battery says “11.1V NOM”, which means the battery fully charged is usually around 11V. Batteries usually have a higher voltage when they are freshly charged, so this could be around 13V fully charged! And since batteries lose charge as you use them, this voltage can drop considerably. Half-way through a use, it may measure down to even 9V! So whichever battery solution I find, it had to be within 9-13V.
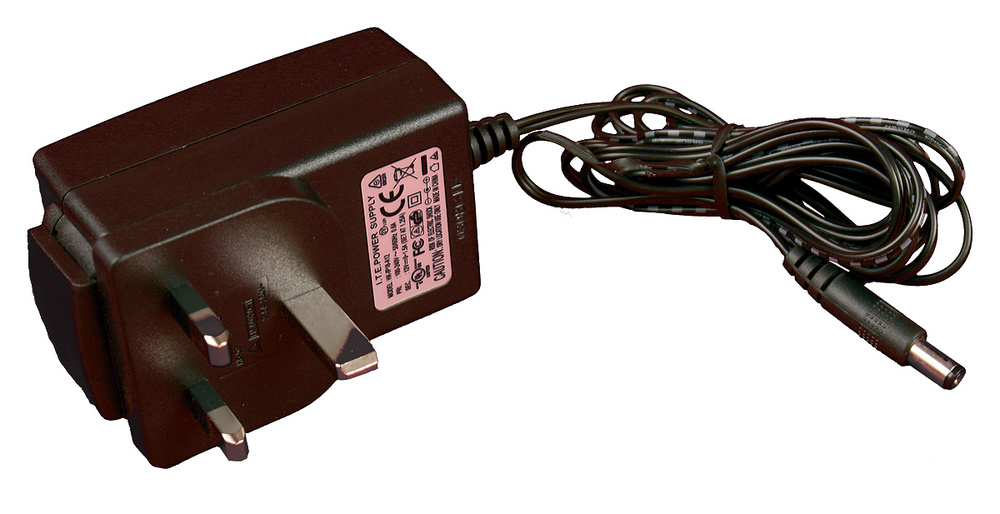
I then used a power supply to try powering it up. I used a lab supply, but anyone could use a “wall wart” supply, so long as the voltage matches.
9V worked! So I went ahead and ordered some 9V battery holders from amazon:

And once it arrived I tried it out… It powered on! But when I keyed the siren key it would quickly die!
Shoot! 9V Batteries have a high internal resistance. That is, drawing lots of current, the voltage will drop considerably! And, a megaphone draws a lot of power!
While D-Cell batteries may provide enough current, but they’re only 1.5V! To get 9V I would need to stack 6 in series (“in a row”)! To get 12V I would need 8! Plus these batteries are HUGE and can be heavy!
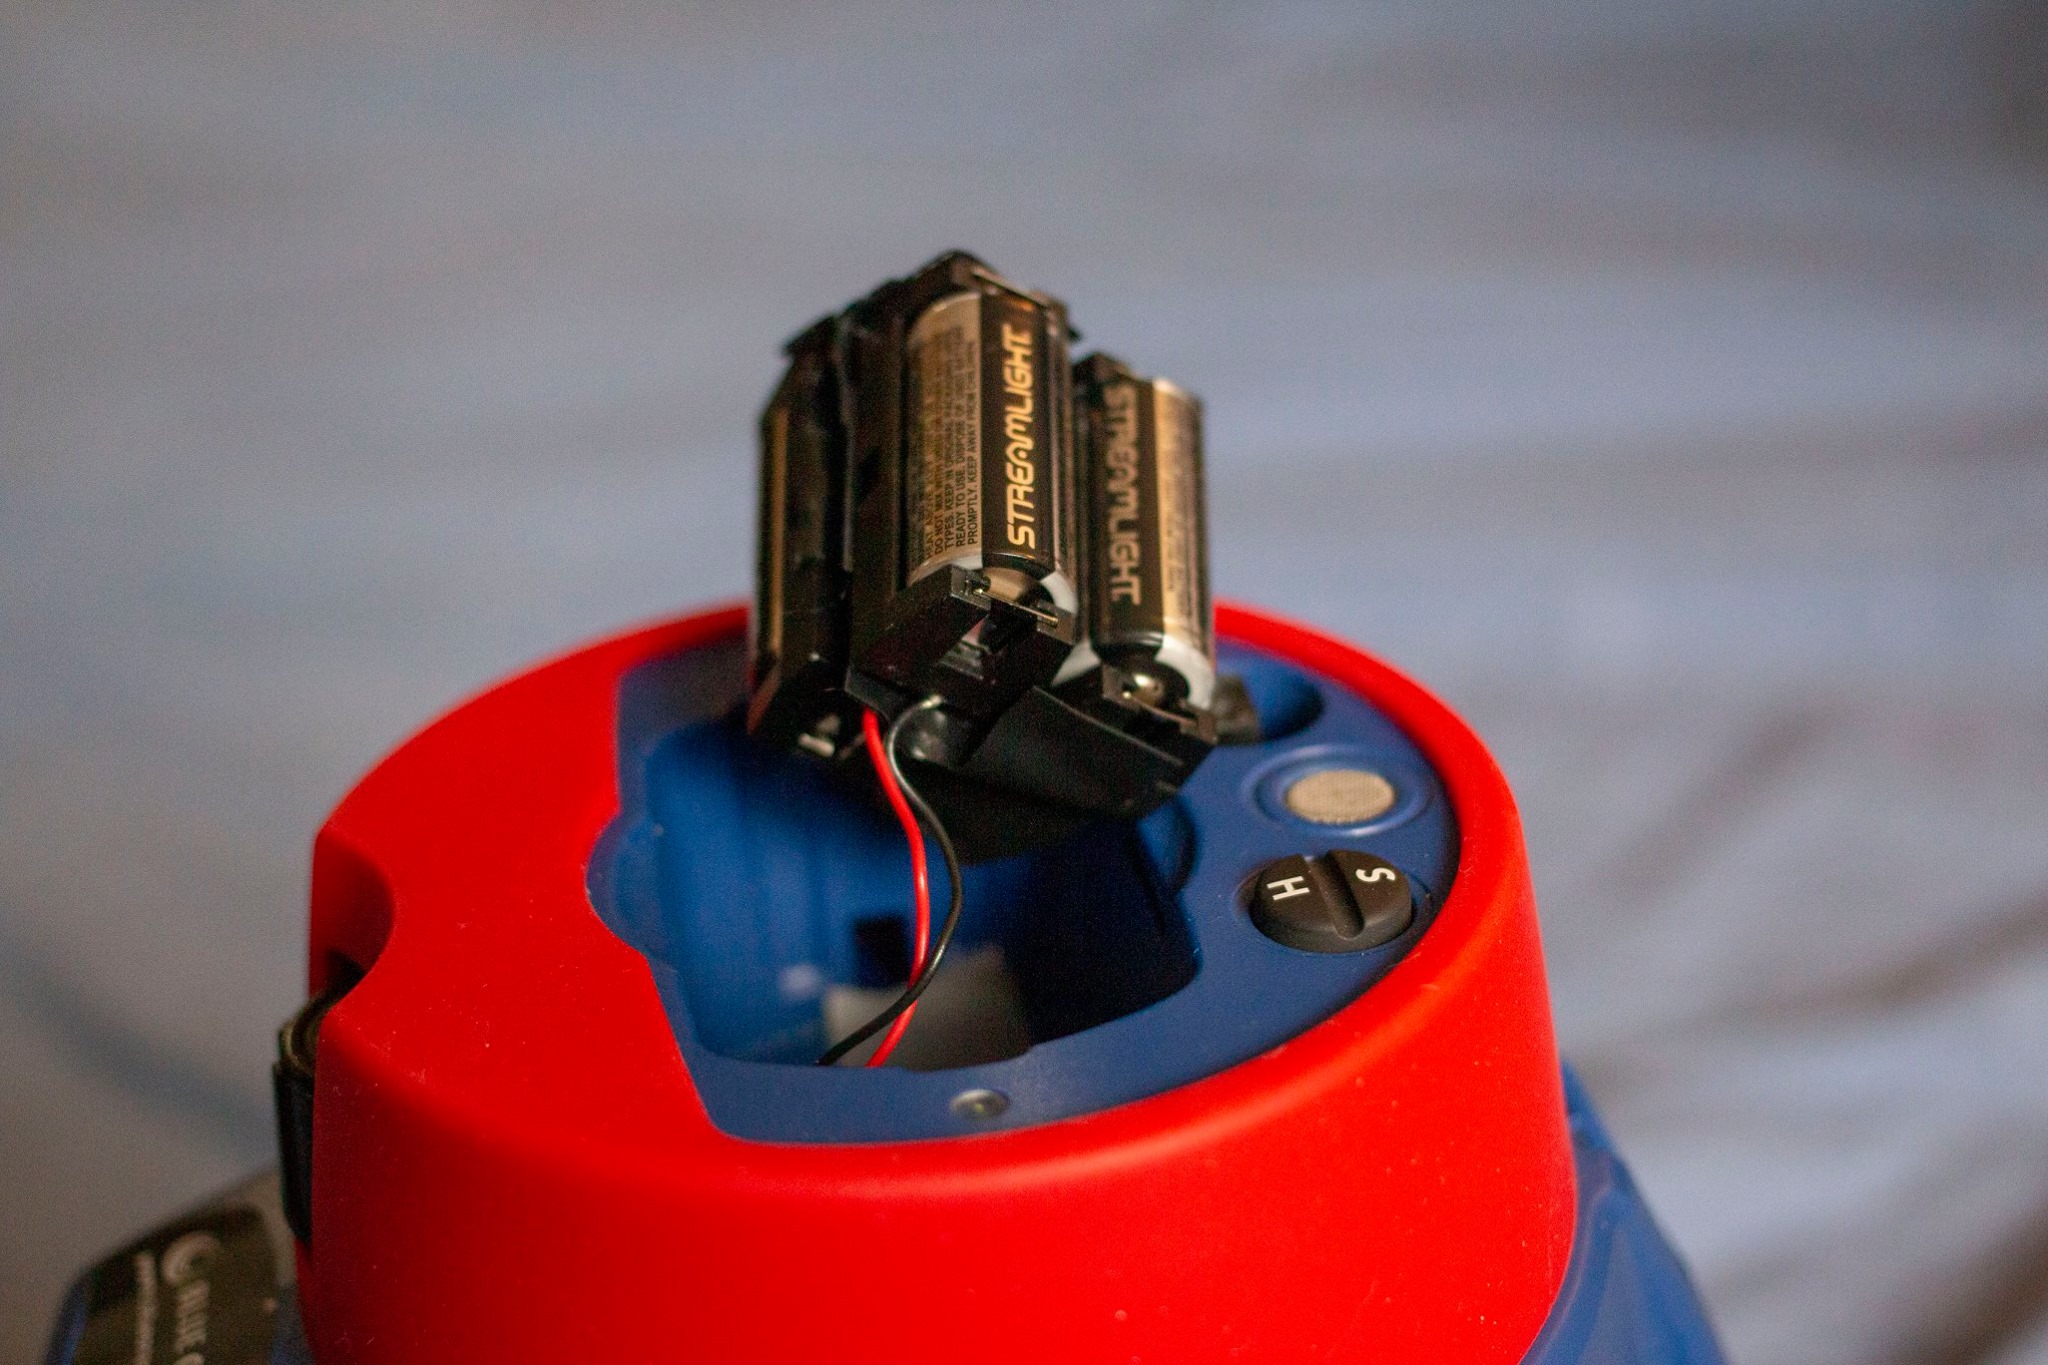
So, I thought, what about a lithium battery? I have some very bright LED flashlights, they use lithium 123A batteries, available at your typical Walgreens or Walmart. These run at 3V and can supply considerable amounts of current!
These actually fit my requirements perfectly- Small enough to fit in the battery slot, powerful enough to power the speaker and amplifier, and I should only need 4 (4x3V = 12V!). So, I went ahead and ordered some 123A battery holders:
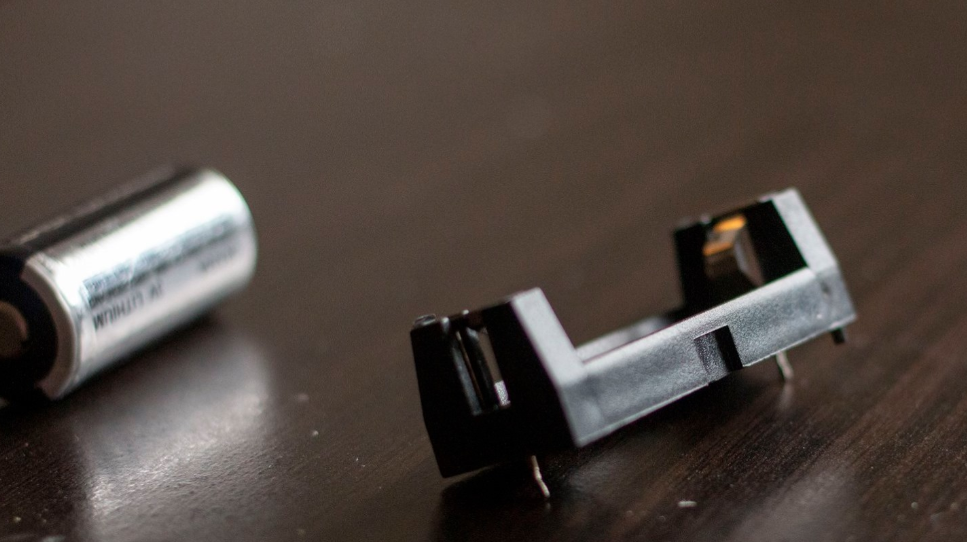
So, I went ahead and soldered 4 of these together, then ran wire down to the battery pins and soldered them there.
Then, I used tape to secure everything.
It worked perfect! I finished taping it up, then lent it to some activist friends to use.